What It Is For
The Lying Figure Four is a held stretch for the buttock and the outer back of the hip. The person lies on their back, rests the outer ankle of one leg over the opposite knee, then draws both legs towards the chest, holding behind the supporting thigh if the hands can reach. The feeling is usually in the buttock of the crossed leg. Clinical exercise sheets describe the same position, some with the supporting foot left on the floor.[1][2]
People use it to ease a sense of tightness after sitting, driving or running, and as a cool-down. Physiotherapists often include ankle-over-knee stretches in programmes for people with buttock pain, including those told they have piriformis syndrome. Cleveland Clinic lists it among seven exercises for that diagnosis, with stretching described as part of a wider plan rather than a stand-alone answer.[1]
Because the spine and pelvis rest on the floor, the weight of the trunk is not carried through the hip, and how much stretch is felt depends on how far the legs are drawn in. Yoga teachers present the pose as an accessible relative of Pigeon for that reason.[3]
How to Do It
A kind stretch for the buttock and outer hip, and an easier option than Pigeon. Lie on your back, cross one ankle over the opposite knee, then draw both legs in towards you, holding behind the thigh if you can reach. Keep your head down. You should feel it in the buttock of the crossed leg.
- Ankle over the opposite knee
- Draw the legs in
- Head stays down
Go gently if you have had a hip replacement, and check with your surgeon or physio first.
How It Got Its Name
The name describes the shape. The crossed leg and the upright line of the other leg suggest the numeral 4. Medicine uses the same label: the starting position of the FABER test, in which the foot rests on the opposite knee, is known as the figure 4 position.[7] Exercise libraries use the same wording for the stretch.[2]
Yoga gives it other names. Sucirandhrasana joins the Sanskrit for needle and for an opening or hole, giving Eye of the Needle, an image of the hand passing through the gap between the legs.[8] Supta Kapotasana, Supine Pigeon, ties it to the Pigeon family.[3] Who first used any of these names is not documented.
History
No inventor is recorded for this stretch. Lying on the back and crossing one ankle over the other knee is a simple position that has probably been found many times, and no source located for this article gives a first description of it as an exercise.
The clearest early link is clinical rather than athletic. The FABER test, short for flexion, abduction and external rotation, is also called Patrick's test after the American neurologist Hugh Talbot Patrick (1860 to 1938). It uses the figure 4 position to examine the hip, not to stretch it.[7] The original publication could not be checked for this article, so how far the term figure 4 goes back is uncertain, and there is no evidence that the stretch came from the test.
In yoga, the pose should not be assumed to be old. The related seated poses of the King Pigeon family were described in the twentieth century by two students of Krishnamacharya, Pattabhi Jois and B. K. S. Iyengar.[9] Modern pose guides that describe Sucirandhrasana give no classical text or date for it.[8] No claim of antiquity for the lying version could be supported.
Muscles and Tendons
The position combines hip flexion with external rotation on the crossed side. Flexion takes the large gluteus maximus towards its longest position, and the crossed shin sets the rotation. Piriformis, the muscle most often named in connection with this stretch, runs from the front of the sacrum through the greater sciatic notch to the greater trochanter, and its tendon merges with those of the neighbouring rotators.[4]
What piriformis does when the hip is bent is less settled than many exercise sheets suggest. In a cadaver study from Stanford, moment arms at several hip muscles changed with flexion, and some muscles switched from external to internal rotation as the hip bent.[5] Standard anatomy descriptions say piriformis itself acts as an internal rotator at about 90 degrees of flexion or more.[4] A later ultrasound study of 26 people found no consistent change in the piriformis tendon unit between rotation directions as hip flexion increased, and its authors questioned that belief.[6] The practical point is modest: this stretch is known to place the buttock on stretch, while the exact share taken by each deep rotator is not established.
Very little muscular work is needed. The arms do the drawing in, and the head and shoulders stay relaxed on the floor. In the milder version, with the supporting foot down, the legs do almost nothing.
Stretched
- Gluteus maximus
- Lengthens across the back of the crossed hip as the thigh is drawn in
- Piriformis
- The deep muscle usually named in this stretch, running from sacrum to greater trochanter
- Other deep hip rotators
- Gemelli, obturator internus and quadratus femoris lie alongside piriformis and share the position
- Posterior gluteus medius
- A lesser share, at the outer back of the hip
Working
- Arms and shoulders
- Biceps and the muscles behind the shoulder hold the thigh and draw it in
- Hip flexors of the supporting leg
- Light effort if the foot leaves the floor and the arms do not take the full weight
Tendons and Fascia
- Common hip rotator tendon
- The piriformis tendon merges with those of the gemelli and obturator internus at the greater trochanter
What Research Has Looked At
Studies of this exact stretch are scarce. The closest is a 2014 imaging study that scanned seven people and modelled piriformis length in different hip positions. Two conventional stretches, combining hip flexion, adduction and external rotation in different orders, each lengthened the muscle by about 12 per cent. A modelled position with about 115 to 120 degrees of hip flexion gave around 15 per cent.[10] Those stretches include adduction, which the figure four does not, so the numbers do not transfer directly. The study measured length and did not test any effect on symptoms.
Where It Is Used Today
The stretch appears in physiotherapy home exercise libraries, where it is commonly filed under piriformis and gluteal mobility.[2] Hospital patient information also describes it, sometimes with a chair version for people who find the floor difficult.[1]
In yoga classes it is taught as a beginner hip opener, and as a preparation for seated postures such as Padmasana, sometimes with the feet on a wall so that the legs need no holding.[3][8] Its appeal for older adults and people who cannot kneel is that it asks nothing of the knees or wrists.
Variations and Related Moves
The easiest form leaves the supporting foot on the floor, with the crossed knee allowed to fall outwards.[2] The firmer form lifts the foot and draws the thigh in with the hands. A wall can take the weight of the legs.[3]
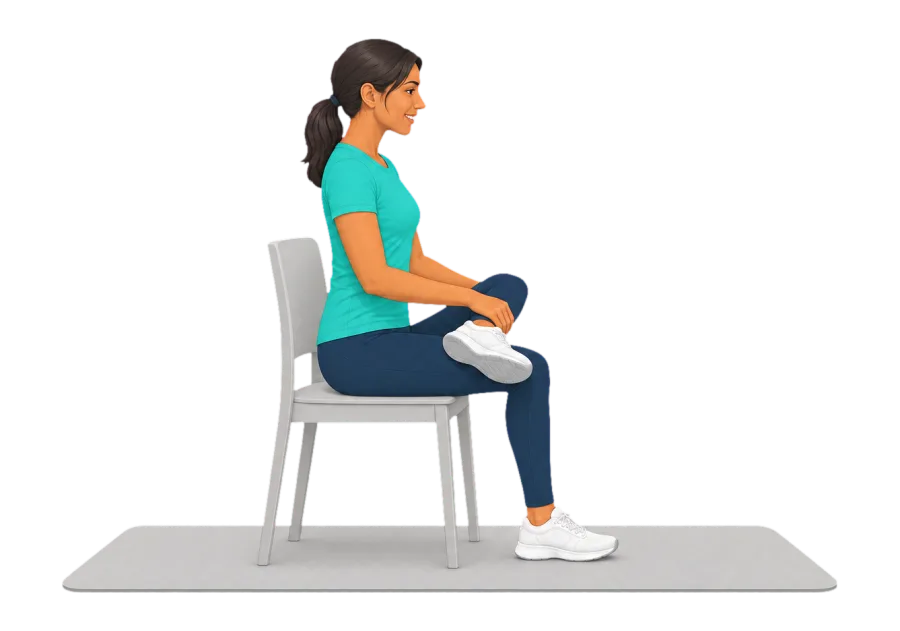
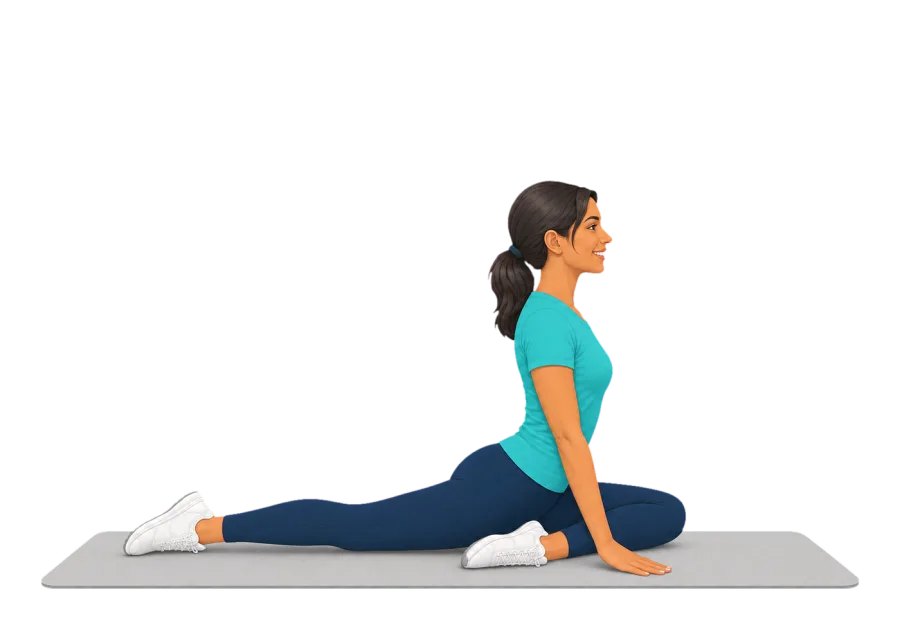
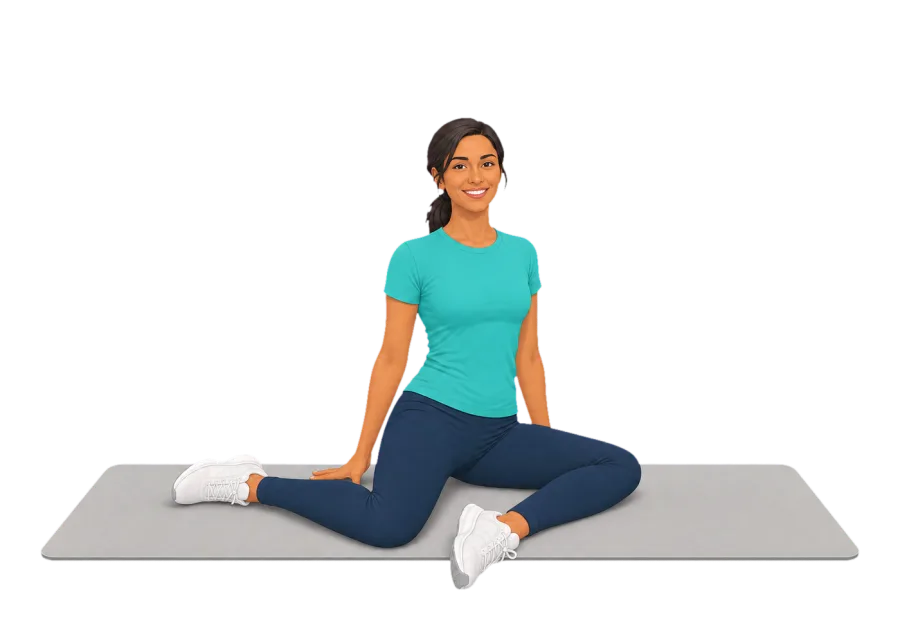
A seated version is done in a chair, with a slight hinge forward from the hips.[1] Pigeon and 90/90 work on similar tissues with more of the body's weight involved, and they need more range and more tolerance through the front knee.
Routines With This Move
- After the Shift
- End of the Working Day
- Hip Opener
- Hips All Round
- Lights Out
- Long Shift Recovery
- Long Wind Down
- Low Back Ease
- Low Back Long Ease
- Low Back Quick Ease
- Wind Down
See Also
Sources
- 7 Best Stretches and Exercises for Piriformis Syndrome (opens in a new tab). Cleveland Clinic, 2022.
- "Figure 4" Piriformis/gluteals mobility, supine (opens in a new tab). Physitrack.
- Yoga For Beginners: Supine Pigeon Pose, Variation on the "King" Hip Opener (opens in a new tab). YogaUOnline, 2024.
- Piriformis muscle (opens in a new tab). Wikipedia.
- Variation of rotation moment arms with hip flexion (opens in a new tab). Journal of Biomechanics, 1999.
- Effect of Hip Rotation Stretch on Piriformis Tendon Thickness: A Diagnostic Ultrasound Study (opens in a new tab). Journal of Student Physical Therapy Research, 2015.
- FABER test (opens in a new tab). Radiopaedia.
- Sucirandhrasana: Eye of the Needle Posture (opens in a new tab). Pranayoga, 2015.
- Eka Pada Rajakapotasana (opens in a new tab). Wikipedia.
- Comparison of two stretching methods and optimization of stretching protocol for the piriformis muscle (opens in a new tab). Medical Engineering & Physics, 2014.
Further Reading
- Patrick's test (opens in a new tab). Wikipedia.
- Kapotasana (opens in a new tab). Wikipedia.
General information about this move, not medical advice. Stop if something hurts, and read our Safety page before you start. If you have a health condition, ask your doctor or physiotherapist first.